Script Tutorial
Working with GEEL Script after getting dataset ready (read previous page to do this)
Starting Napari
After the desired dataset is put in the directory;
Run main script from the project directory
python src/run_annotation.py

> Enter Directory:
./example_dataset
- THE SCRIPT RUNS ON THE DIRECTORY ITSELF
- The Checkpoint file should be created automatically
    .
    ├── checkpoints
    │   └── imgAnnotatedData.json
    ├── full_img
    │   ├── Engilchek_glacier_1999-07-09.tif
    │   ├── Engilchek_glacier_1999-08-10.tif
    │   ├── Engilchek_glacier_1999-08-26.tif
    │   └── Engilchek_glacier_1999-10-13.tif
    └── label_img
        ├── Engilchek_glacier_1999-07-09.tif
        ├── Engilchek_glacier_1999-08-10.tif
        ├── Engilchek_glacier_1999-08-26.tif
        └── Engilchek_glacier_1999-10-13.tif
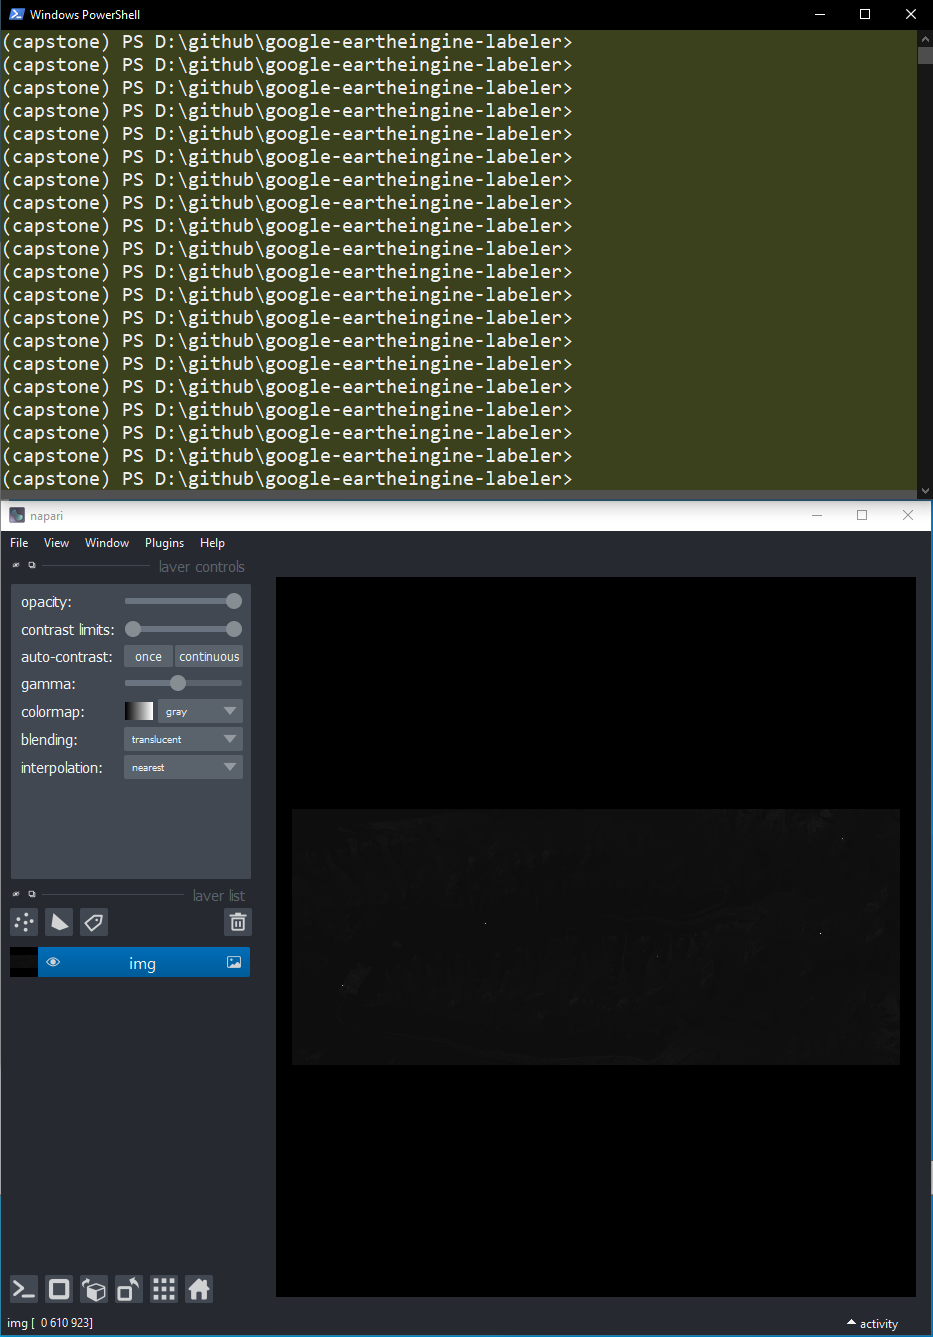
My Monitor Setup
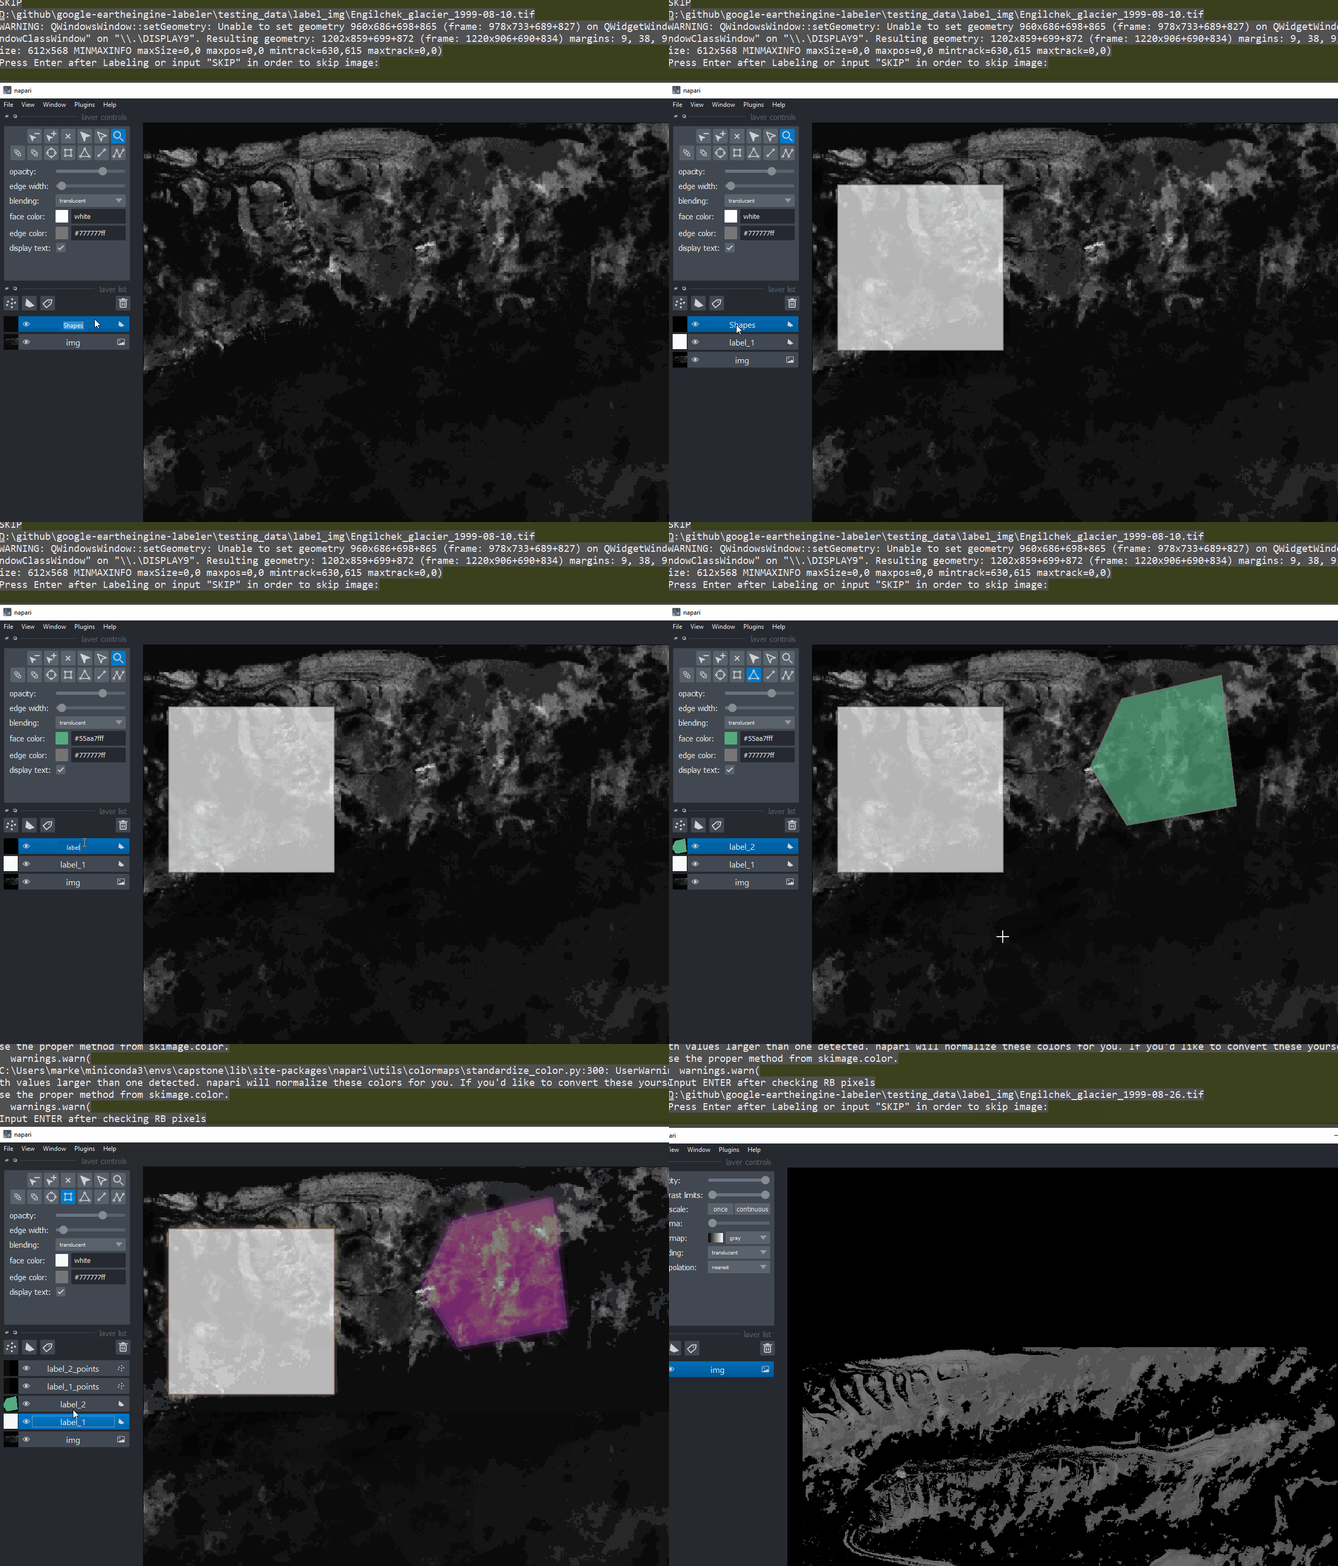
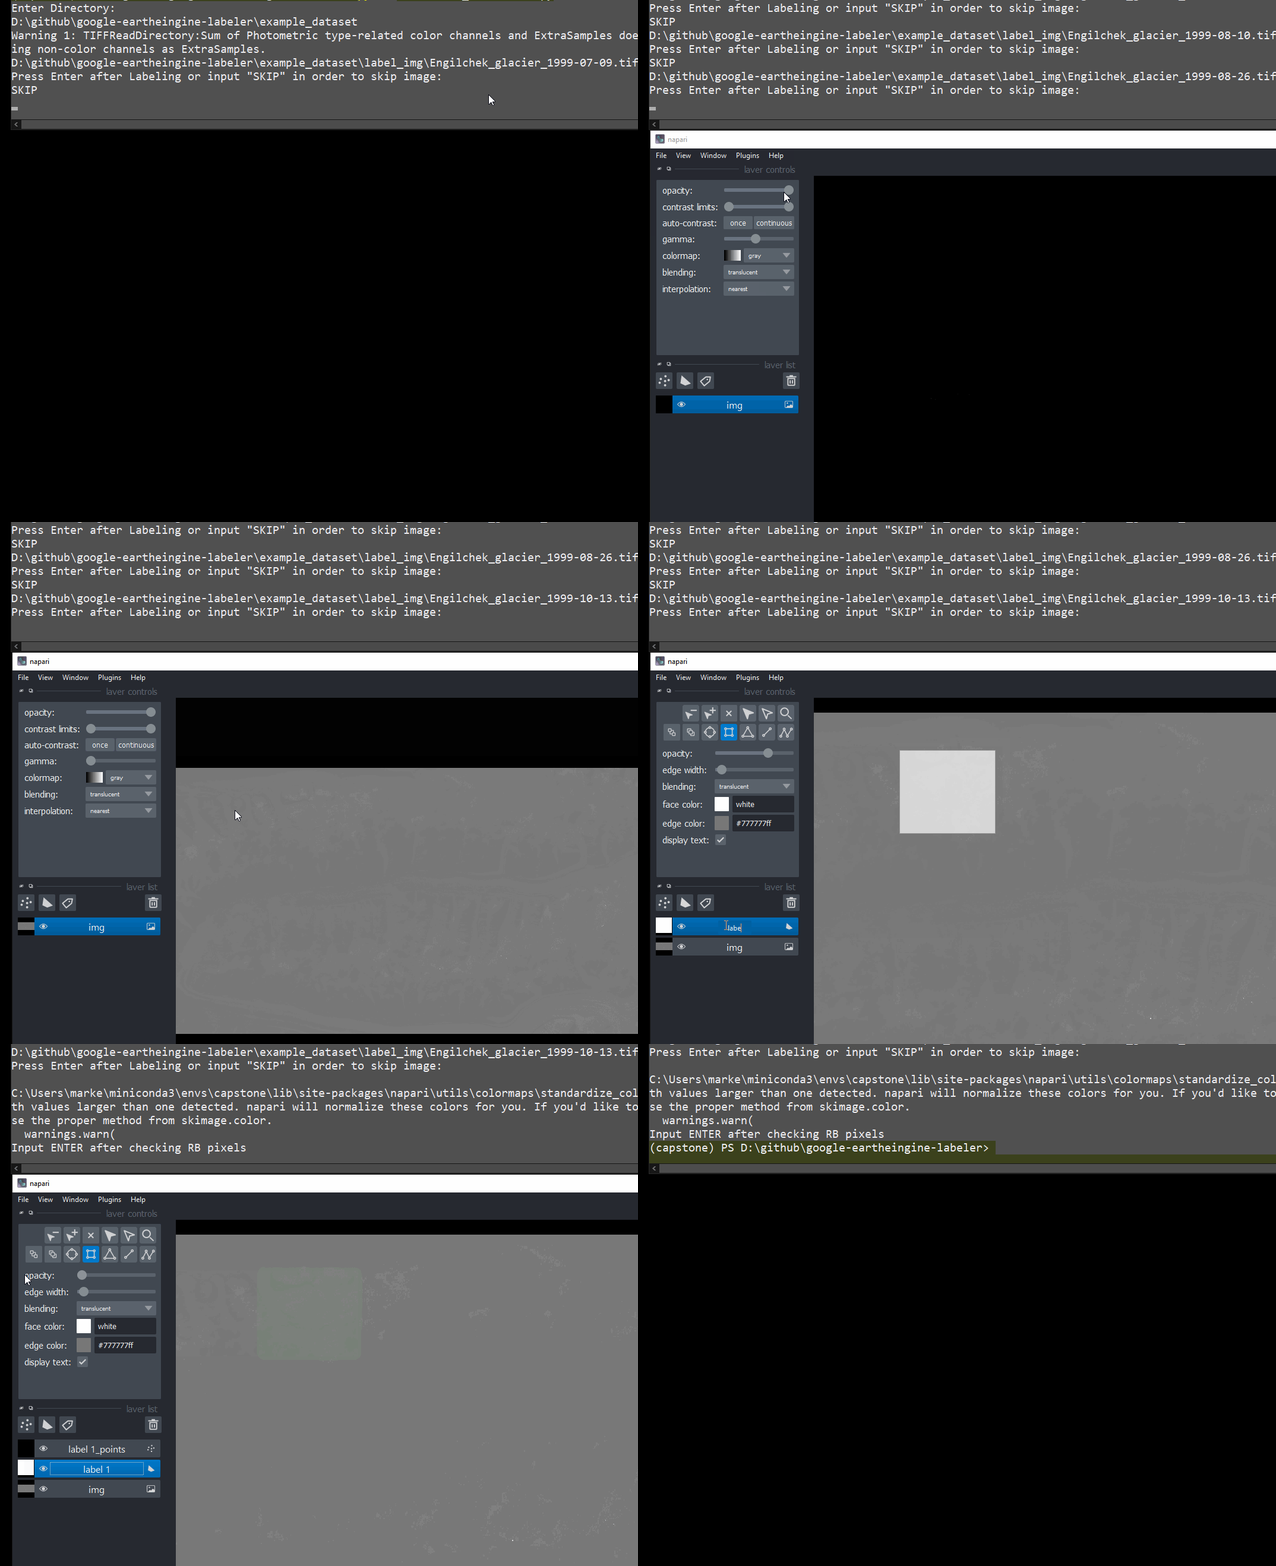
Running through Dataset
Label Image or decide to SKIP image

Iterate through dataset
If image is labeled, press ENTER else, enter "SKIP")


Checkpoint & Output Structure
Checkpoint System
- When the image is either (finished being) labeled or skipped, the checkpoint system will record the name of the image
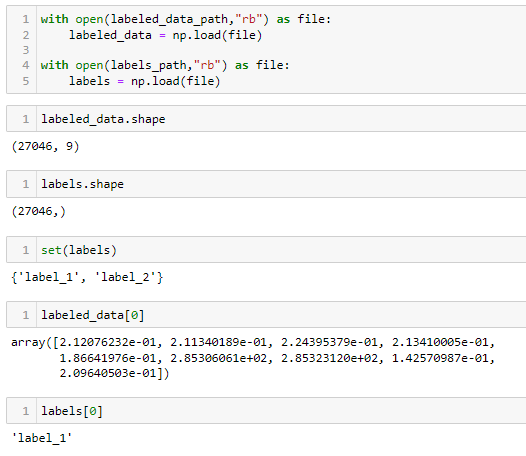
- When an image is labeled, the pixel-label data is saved into numpy files
./example_dataset
├── checkpoints
│   ├── data.npy
│   ├── imgAnnotatedData.json
│   └── labels.npy
├── full_img
│   ├── Engilchek_glacier_1999-07-09.tif
    ...
└── label_img
    ├── Engilchek_glacier_1999-07-09.tif
    ...
⚠️ IF YOU WANT TO START OVER, DELETE THE CHECKPOINT FILE. THIS WILL CLEAR OUT SAVED WORK THE LABELING PROGRAM WILL CREATE ANOTHER CHECKPOINTS FILE WHEN USING FRESH DATASET.
Output Structure
| file | description |
|---|---|
| data.npy | This file that holds the band data for each pixel of the labeled polygon |
| labels.npy | This file holds the designated label |

